Configure Grandstream Wave Phone App With QR Code Image

Installation Method: QR Code Image.

Before proceeding, please make sure the Grandstream Wave app is installed.
If the app has not been installed, please click the link from the menu to see the installation instructions.
A QR Code sent by email is needed.
If you do not have a QR Code, please contact your telephone support team.
If QR Code email is available, save the QR Code to a location in your phone.

Know the location of the QR Code.

The instructions below are for Android phones.
Please follow similar instructions for Apple phones.

1. Locate and start GW Wave app
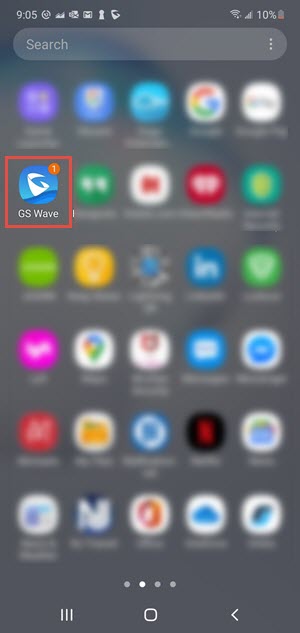
Image: Locate, Start GS Wave App

2. Click Settings

Image: Click Settings

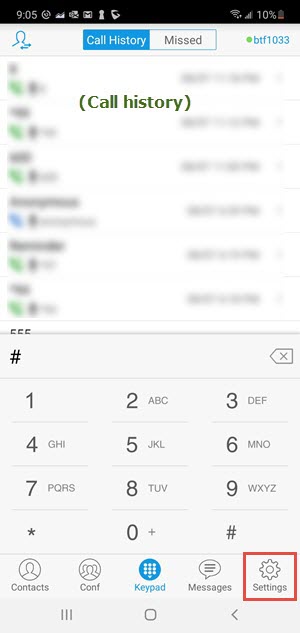
3. Click Account Settings

Image: Account Settings

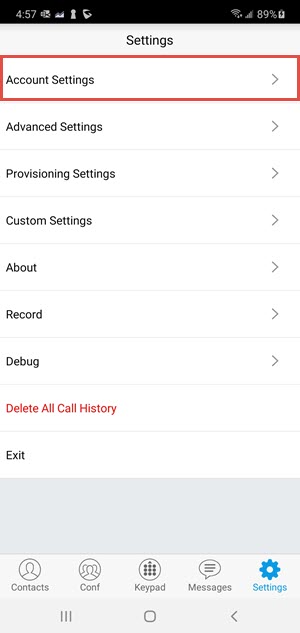
4. Click "+" sign to add new account

Image: Add Account

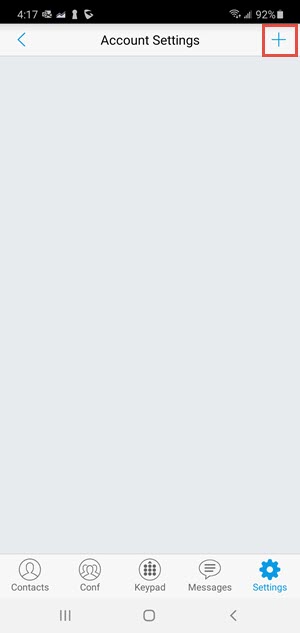
5. Select UCM Account QR Code Image

Image: Select UCM Account QR Code Image

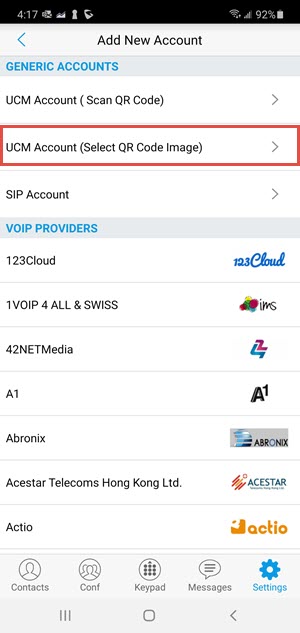
6. Locate QR code that was emailed

Image: Locate QR Code from Email

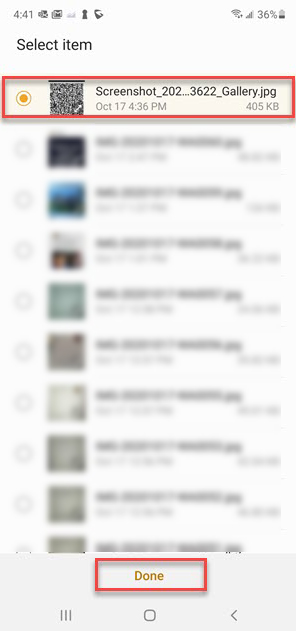
7. Select the QR Code image

Image: Select the QR code

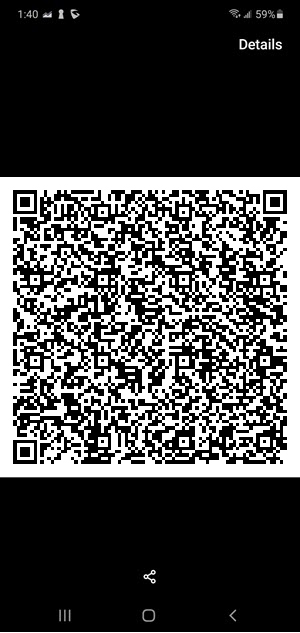
8. In popup, click Done to create account

Image: Click done to create account

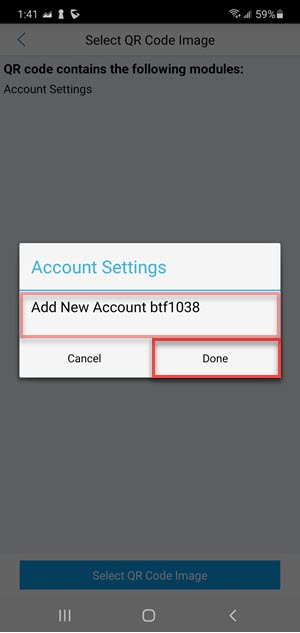
9. Account created, dot is red, go back

Image: New account created

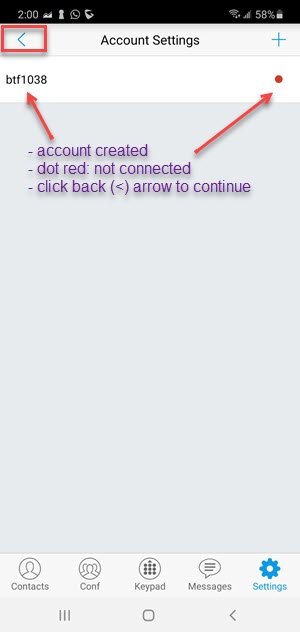
10. Now at General Settings, scroll down

Image: General settings

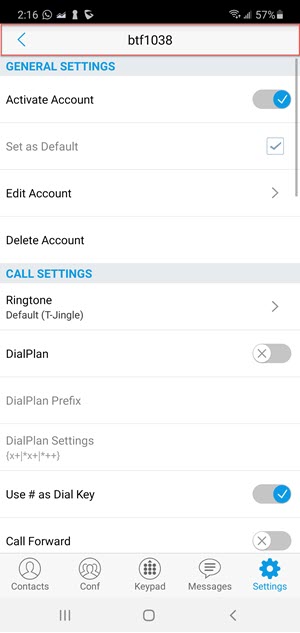
11. Click Transmission Protocol

Image: SIP settings tranmission protocol

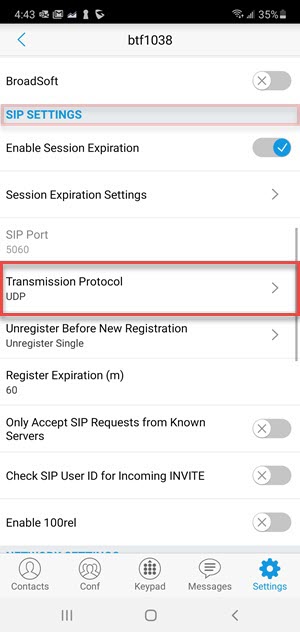
12. Select TLS Protocol, go back

Image: TLS Transmission Protocol

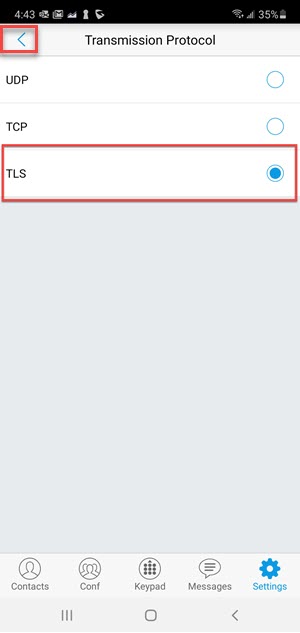
13. Scroll down to Preferred Vocoder
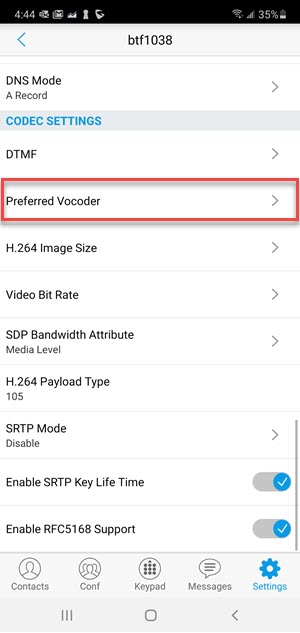
Image: Preferred vocoder

14. Click WiFi

Image: WiFi Voice coder

15. Select PCMU, PCMA, OPUS; save
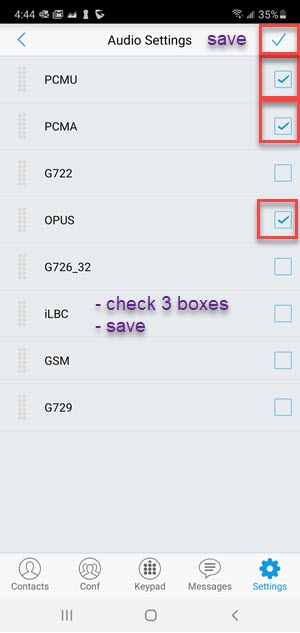
Image: WiFi Voice Codecs

16. Click 2G/3G/4G

Image: 2G/3G/4G Voice Coder

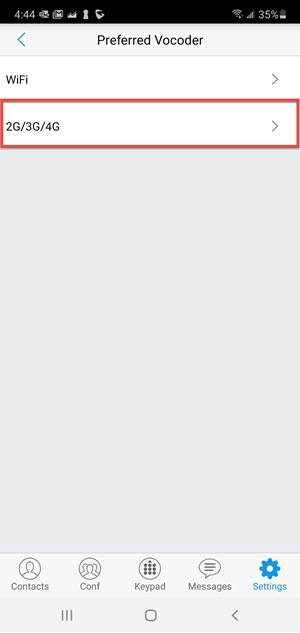
17. Select PCMU, PCMA, OPUS; save

Image: WiFi Vocoder

18. Return to Preferred Vocoder

Image: Preferred Vocoder

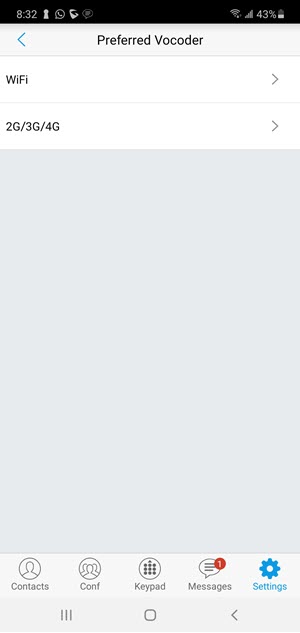
19. Click back arrow

Image: Preferred Vocoder

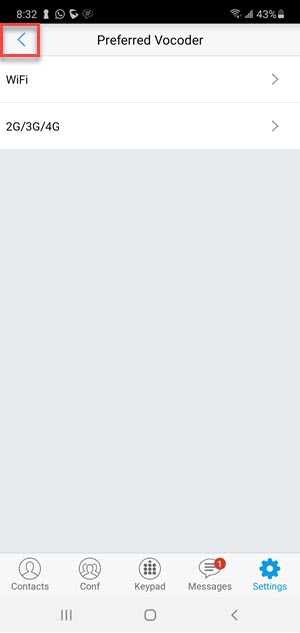
20. Scroll down, click SRTP Mode

Image: Codec Settings - SRTP Mode

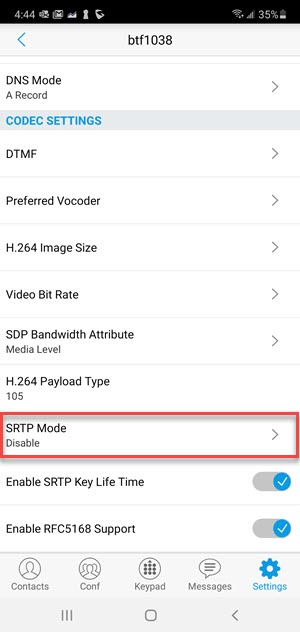
21. Select Enabled and forced, go back
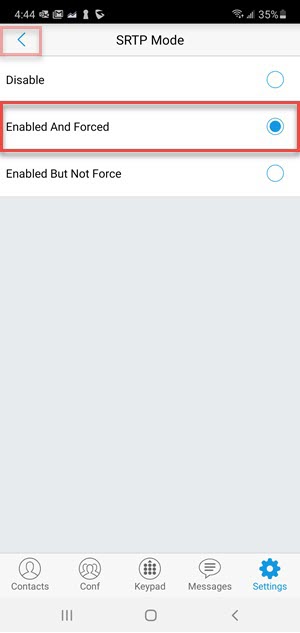
Image: Enabled and Enforced SRTP Mode

22. Go back

Image: General Settings

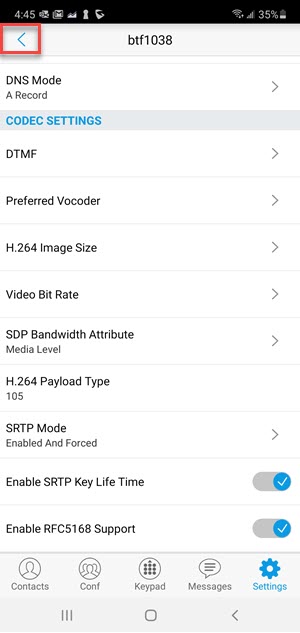
23. Check that dot is green, click keypad

Image: Click 2G/3G/4G

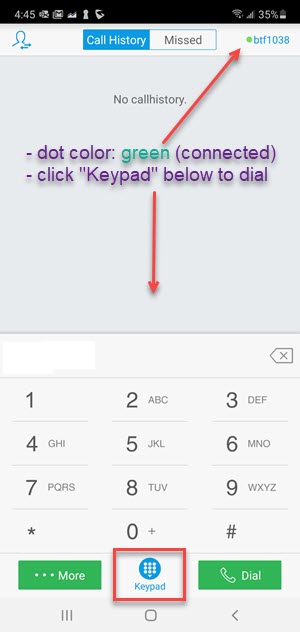
24. Enter "555" in keypad, press Dial

Image: Uncheck PCMU, PCMA

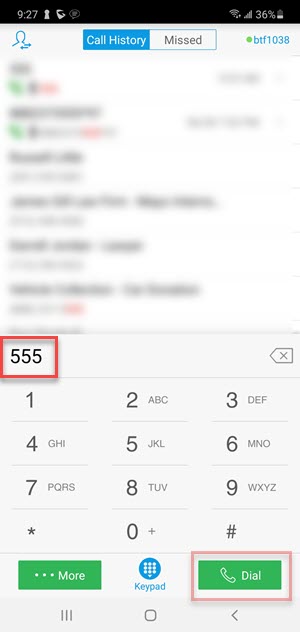
25. Call in progress, encrypted
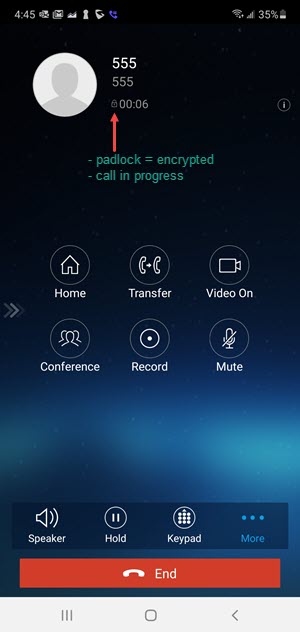
Image: Check OPUS then Save